

JPEG
- Best for
- Photos and complex images
- Strengths
- Small file size, wide support
- Tradeoffs
- No transparency, some quality loss
- Transparency / Animation
- No No
Learn how resizing, choosing the right format, compressing intelligently, and serving responsive images can improve your website's performance — without sacrificing visual quality.
Large, unoptimized images can slow down your site, increase page weight and use more bandwidth. Optimized images load faster, improve user experience and help your site perform better in search results.
Better user experience
Uses less bandwidth
Looks great, just smaller
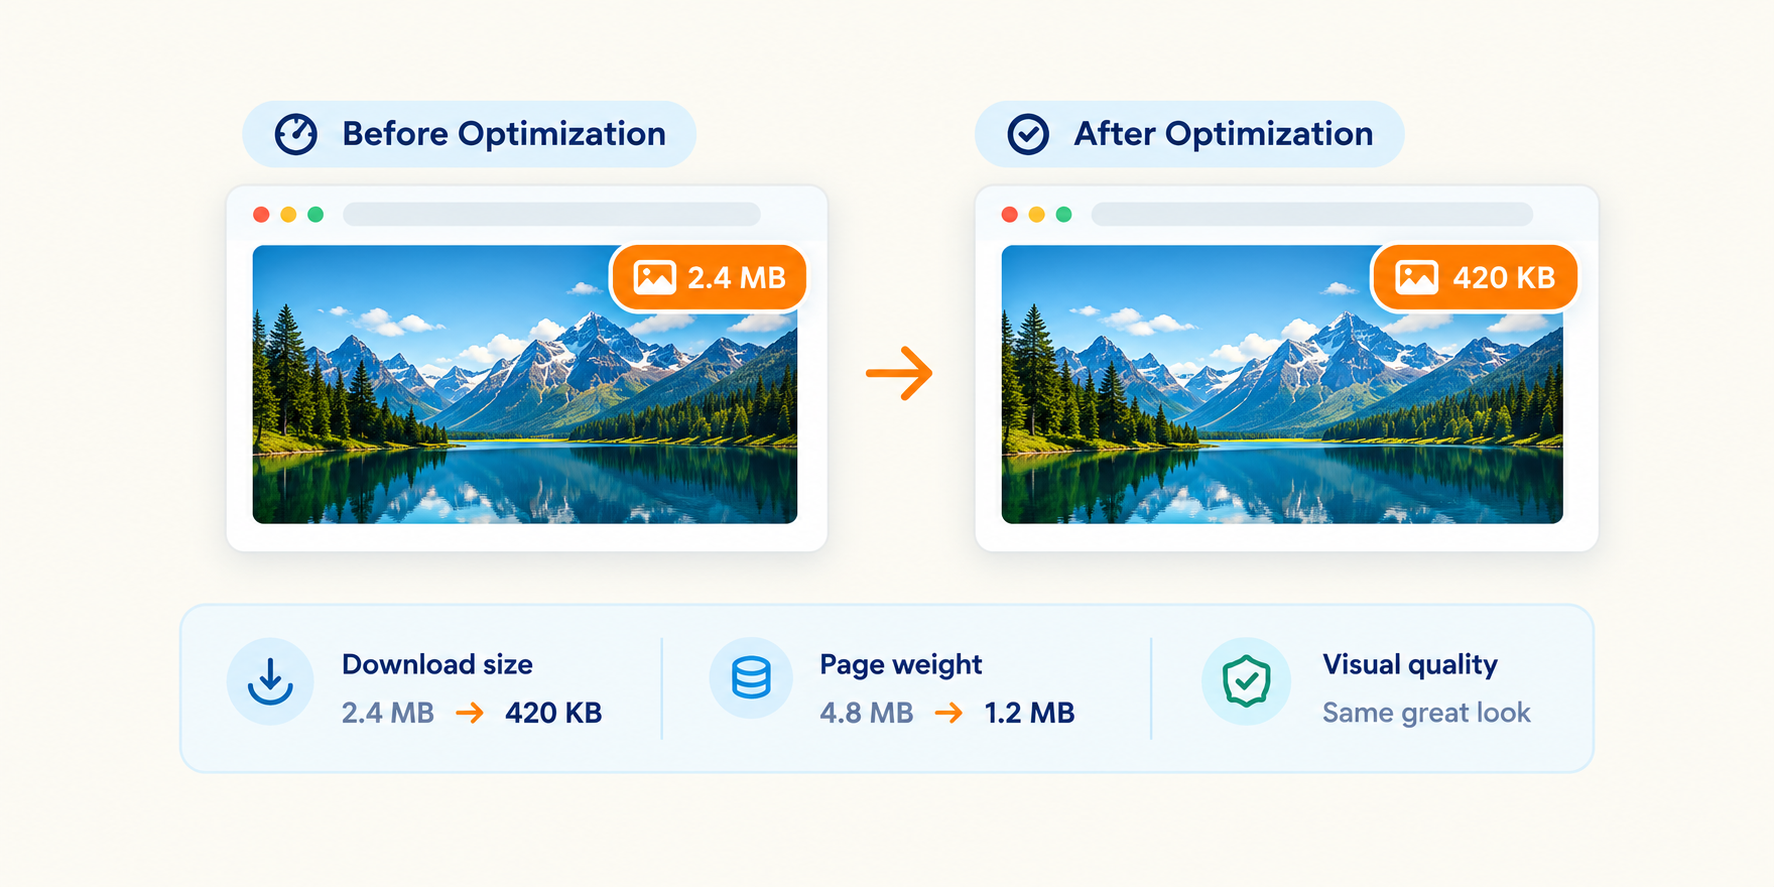
Illustrative example. Real results depend on the image.
Don't upload a 4000px image when your website only displays it at 1200px. Resizing to the right dimensions reduces file size and improves loading speed without losing quality.
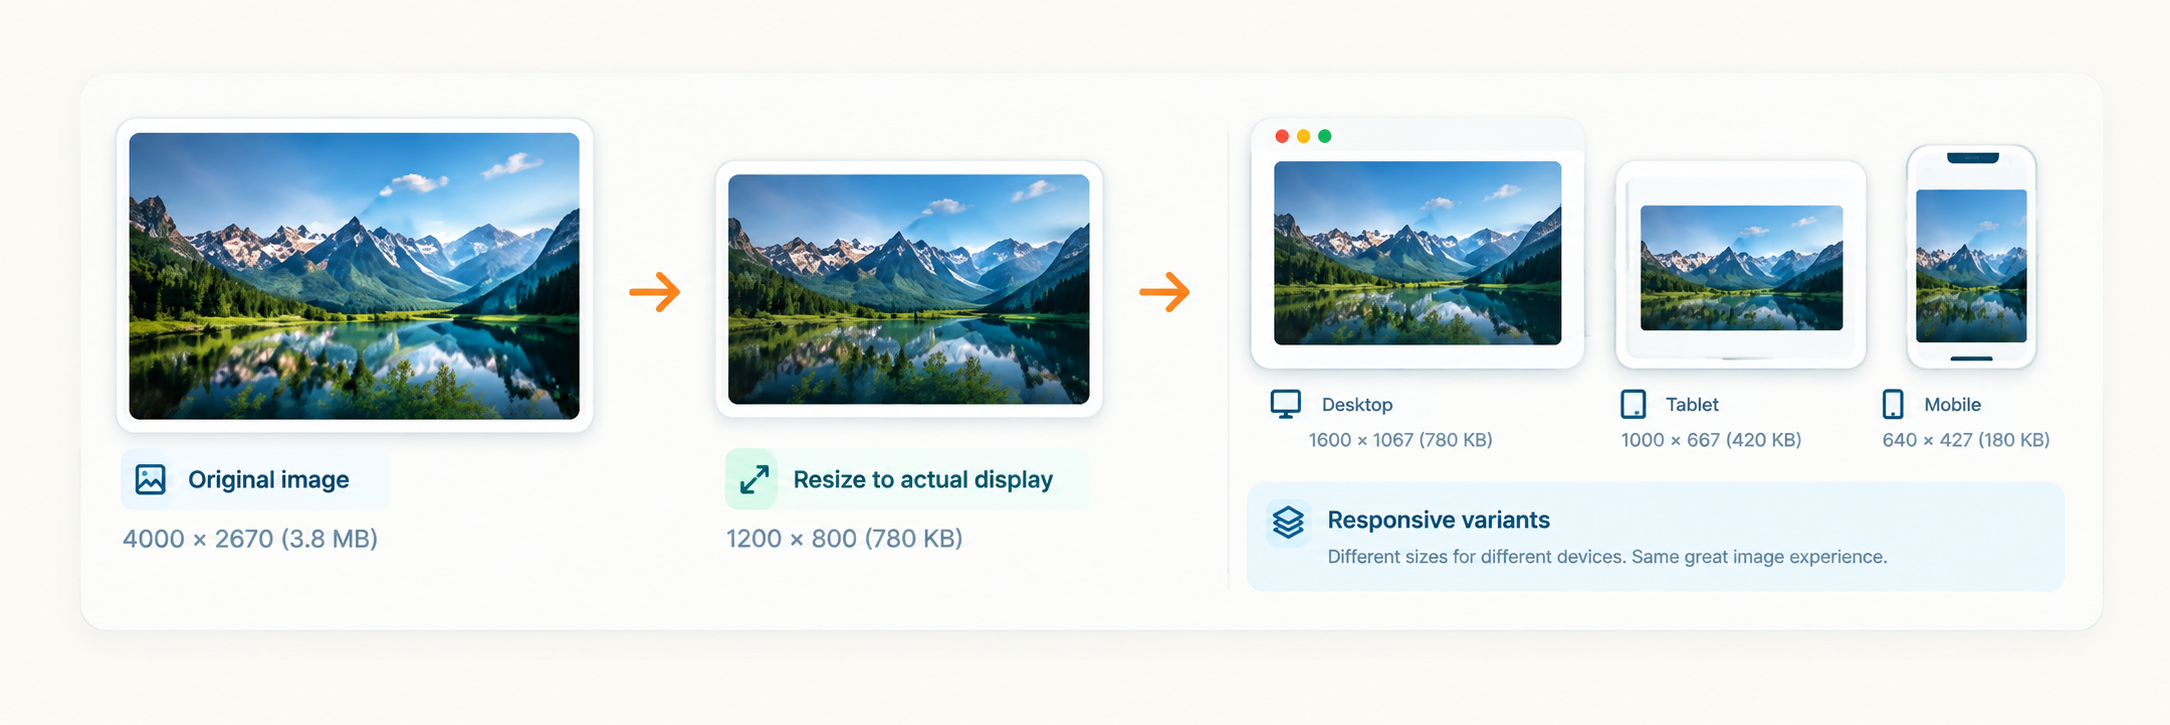
Illustrative example. Real results depend on the image.
Each format has its own strengths. The best choice depends on your image type, quality needs and browser support.
Lossy compression reduces file size by removing some data. Lossless keeps all the original information. The right setting helps you get a good balance between size and quality.
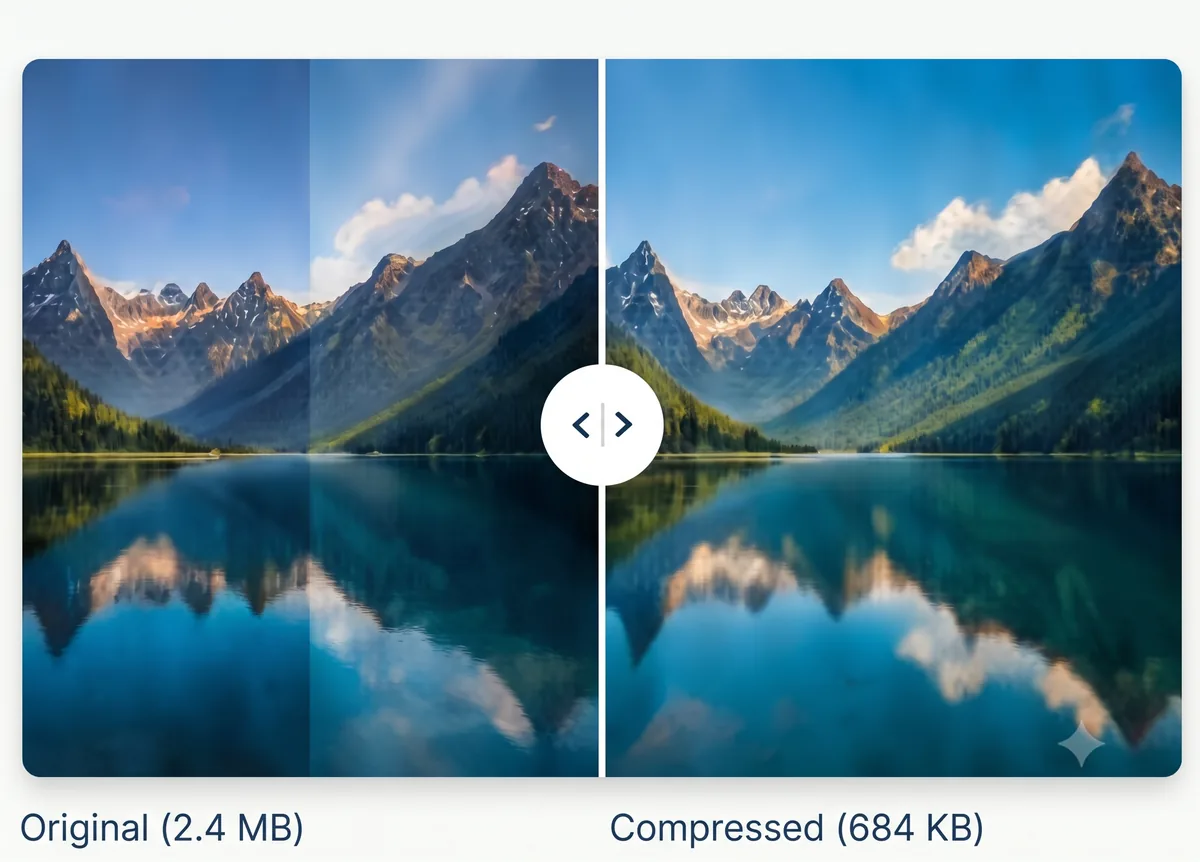
Illustrative example. Real results depend on the image.
Smaller files by discarding detail the eye barely notices. Best for photographs.
Every pixel preserved. Best for logos, screenshots and graphics with sharp edges.
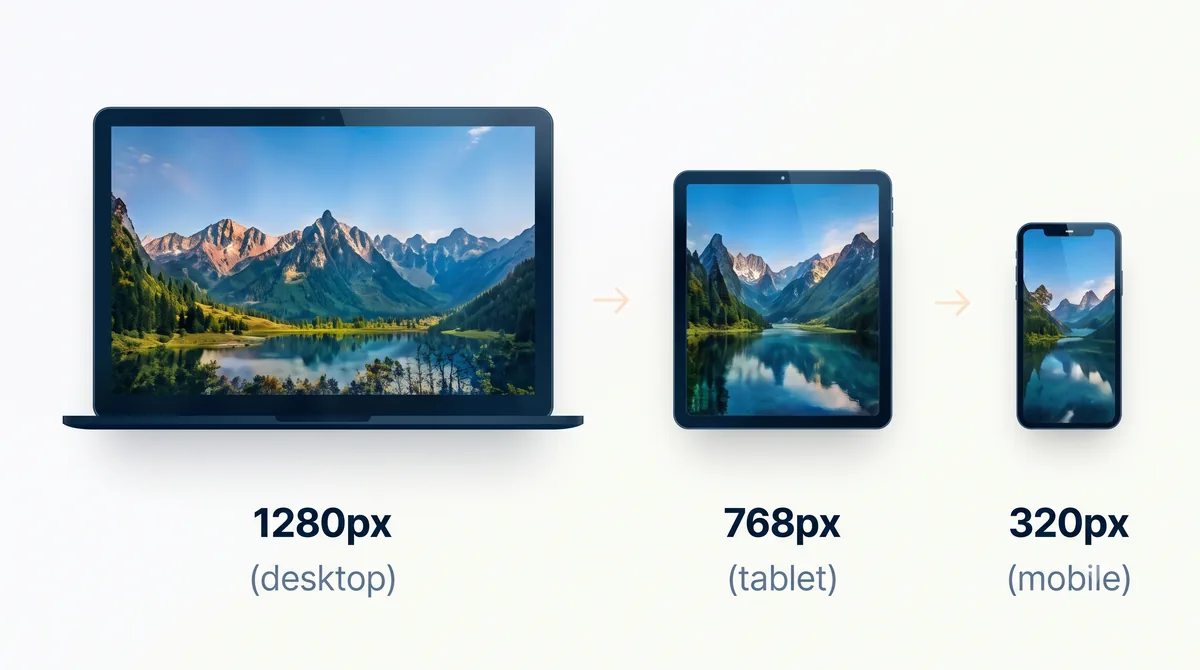
Serve different image sizes based on the device. This improves loading speed and saves bandwidth.
<picture>
  <source type="image/avif"
    srcset="photo-400.avif 400w, photo-800.avif 800w, photo-1200.avif 1200w"
    sizes="(min-width: 1024px) 1200px, 100vw">
  <source type="image/webp"
    srcset="photo-400.webp 400w, photo-800.webp 800w, photo-1200.webp 1200w"
    sizes="(min-width: 1024px) 1200px, 100vw">
  <img src="photo-800.jpg" width="1200" height="800"
    alt="Mountain lake at sunrise" loading="lazy">
</picture>
The browser picks the first format it supports and the smallest file that still looks sharp on the visitor's screen.
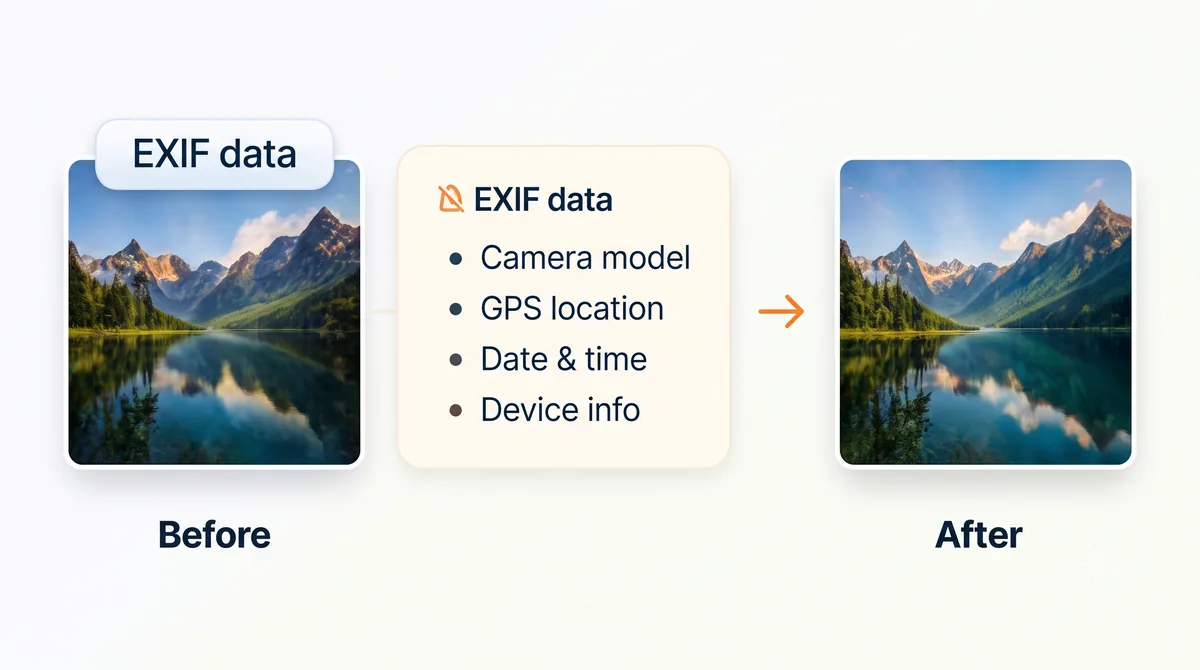
Images often contain EXIF data (camera settings, GPS location, etc.). Removing it helps protect privacy and reduces file size.
Follow these steps for the best results.
Set the right width and height.
Use the best format for your needs.
Balance quality and file size.
Check size and visual quality.
Use srcset or picture for different devices.
Track performance and make adjustments.
Image optimization can positively impact your Core Web Vitals. These are Google's targets for a “good” experience.
Largest Contentful Paint
≤ 2.5 s
Loading experience
Interaction to Next Paint
≤ 200 ms
Interactivity
Cumulative Layout Shift
≤ 0.1
Visual stability
Image optimization can help, but these metrics depend on your full site setup, hosting and needs. Always measure your actual performance.
A 4000px photo displayed at 800px wastes bandwidth on every visit.
PNG is lossless, so photos end up far larger than they need to be. Use JPG, WebP or AVIF.
Without dimensions the browser cannot reserve space, which causes layout shift.
Lazy-load images below the fold, but load the main above-the-fold image straight away.
Each lossy save loses more detail. Always optimize from the original where you can.
Alt text helps accessibility and search engines understand what the image shows.
Use our free Image Optimizer to resize, compress and convert your images — directly in your browser. No uploads, no registration.
Quick answers to common questions.
Yes. The Chaufal Tech Image Optimizer is free to use, with no account or registration required.
Yes. Add as many images as you like, choose your settings once, and optimize them all in a single session.
No. Images are resized, compressed and converted entirely inside your browser. They never leave your device.
Lossy compression (JPG, WebP, AVIF) removes some data, but at sensible settings the difference is rarely visible. Preview the result and lower the compression if you can see a difference.
You can add JPG, PNG, WebP and AVIF images (up to 50 MB each) and export to JPG, PNG, WebP or AVIF.
Because nothing is uploaded, your images stay on your device. EXIF metadata such as GPS location and camera details is also removed from the exported files.
Explore more resources and tools to help you build faster, smarter and better.